How to Draw A Cartoon Skull Easily
How to Draw A Cartoon Skull. The human skull performs a somewhat important but vital function in our body.
Also, check our cat coloring page.
They help protect our delicate brain from damage and house our teeth, eyes, and other body parts we use every day.
They have gained a fearsome reputation in our culture and are commonly seen in spooky settings, scary movies, or cautionary tales.
We’re going to capture that scarier side in this guide on how to draw a cartoon skull.
Skulls may be spooky and spooky, but there’s nothing to fear in this guide!
We will break it down to show you that drawing this excellent design can be easier than you think.
So get ready for some awesome drawing fun as we tackle this step-by-step guide on how to draw a cartoon skull in just 6 easy steps!
How to Draw A Cartoon Skull
Step 1
To begin this guide to drawing a cartoon skull, let’s first draw the rounded top of the skull. This is drawn with a simple round line going inwards on the right side.
Let’s add a wavy line resembling an inverted 3 on the right side.
These lines form the foundation for the structure of the skull, and we will add more elements in the next few steps.
Step 2
A skull’s eye sockets can’t move, but this cartoon skull design will be an exception!
We start this second step with these orbits, which will be positioned backward parallel to line 3, which we drew in the previous step.
They will feature rounded lines at the top inside corners, which will help give the skull a more sinister expression.
The left eye has a line on the right side that goes to the nose. This may sound unclear, but the reference image will clear it up!
Finally, add more curved lines above the eye sockets and another curved line on the right side of the head.
Step 3
In this third part of the guide, we will add the nasal cavity and some teeth for this skull.
The nasal cavity is connected to the line attached to the eye’s left. It is divided into two rounded sections with a pointed tip in between.
Next, we draw the teeth, which can be tricky. Each tooth socket has its square section with a small line across it.
We then add a wavy cheekbone to the right under the eye. To finish, add some smaller lines near the back of the skull, and then we can continue!
Step 4
In this step, we can finish the jaw of this cartoon skull design, preparing you for the final details in step five.
First, we draw the bottom row of teeth. These are drawn similarly to the top row. Next, we’ll add a rounded, prominent chin, which is then connected to a more angular jawline.
Once it looks like our reference image, we can move on to the final details in the next step of the guide!
Step 5
You’re almost done with this drawing, but before you start coloring in the next step, we need to add a few final details in this step of our how-to-draw cartoon skull guide.
In particular, we will add some shadows and shading to the skull. We use thick black shapes inside the eyes but leave some thin white parts to make the shading more dynamic.
Then we added some shading to the side of the skull as well. Once you’ve added those shadows, there’s no need to stop here!
You could add some extra details and add a background for some ideas. This skull could be on a pirate’s treasure map or in a haunted house!
Step 6
In the last step of the guide, we will have fun adding colors to your creation!
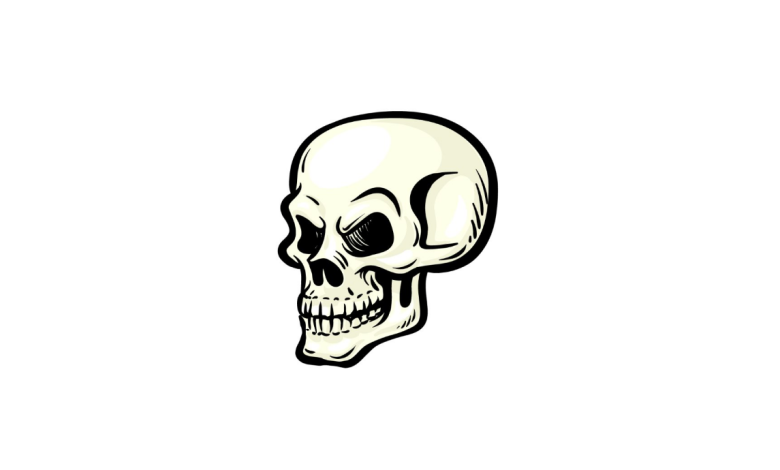
Our example image showed you what this skull could look like if you chose more realistic colors.
We used light yellow and beige colors for the skull, making it look more like natural bone.
You could use colors similar to ours, but you could use other colors to keep it realistic. Alternatively, you can opt for a unique color choice!
If you want to achieve a look similar to our example, we recommend some watercolor paints. Whatever you use, it will look great. So have fun and experiment!
Your Cartoon Skull Drawing is Finished!