Field Repair Tips: Quick Fixes for Damaged Excavator Parts

When you’re on a remote worksite and your excavator throws a curveball in the form of a leaking hose, broken bucket tooth, or a seized pin, every minute of downtime feels like an eternity. While full workshop repairs may be the ultimate solution, field expediency is the name of the game when schedules—and budgets—are tight. Below are tried-and-true hacks to get you back in operation fast, using minimal tools and materials you (or most service vehicles) likely carry.
Inspect, Prioritize, and Improvise
Before diving into repairs, take a quick but thorough walk-around:
Safety first: Lower attachments, shut off the engine, and relieve hydraulic pressure.
Identify the critical failure: Is the machine leaking fluid onto the ground? Is a track link broken? Is the bucket missing a tooth?
Prioritize fixes: Address anything that could cause further damage (hydraulic leaks, loose structural components) before cosmetic issues.
Once you know the worst offender, you can tailor your field kit to the task.
Hose Leaks and Hydraulic Quick-Clamps
Materials: Heavy-duty hose repair clamp, stainless steel worm-drive clamp, rubber hose sleeve (commercial or improvised from garden-hose material), hose mender fittings.
Clamp and Sleeve: Slide a rubber sleeve over the leak, secure each end with stainless-steel worm clamps tightened snugly.
Bolt-On Repair Clamp: These stainless-steel kits use a split-steel housing and rubber gasket. Position over the leak, then bolt through to seal.
Hose Mender: If you carry spare hydraulic hose couplers, cut out the damaged section, insert the mender, and tighten fittings on both ends.
These fixes can hold at moderate pressure (3,000–4,000 psi) until a proper replacement is fitted.
Bucket Tooth and Edge Repairs
Materials: Bolt-on tooth adapters, standard bolts, steel straps, high-temp epoxy putty or on-site welding gear.
Bolt-On Tooth Kits: Carry universal adapters and extra forging-quality bolts. Remove the broken tooth stub, slip on the new adapter, and torque the bolt per spec.
Temporary Tooth: If adapters aren’t available, wrap a hardened steel strap or universal clamp around the tooth pocket, secure with graduated hose clamps, and cover with high-temp epoxy putty to hold until you can source the correct part.
Edge Guards: For cutting-edge wear, a quick tack-weld of leftover plate steel can extend life until a factory edge is installed.
Track Link and Roller Liner Patches
Materials: Split master links, track-link press tool, heavy wire or chain, grinder.
Master Link Swap: Master links are designed for field removal. Swing the track off the sprocket, position the new split link, and roll the track back on.
Roller Liner Hacks: If a roller liner cracks, clean the area, roughen with a grinder, apply an industrial-grade metal epoxy or cold weld, then protect with heat-shrink wrap or tape rated for abrasion.
Pin, Bushing, and Joint “Jiggles”
Materials: Grease gun, multi-grade grease, wire rope clips, hose clamps.
Seized Pins: Spray penetrating oil, then carefully apply heat from a torch. Once loosened, clear corrosion and pack with grease.
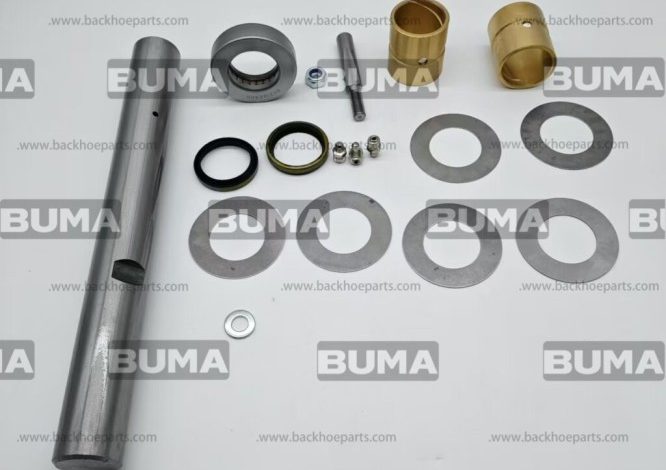
Loose Bushings: If a bushing has worn, shim it temporarily by wrapping it with heavy grease and fitting a hose clamp around the joint—this recovers some tolerance until a sleeve can be pressed in.
Wire-Rope Shim: For a worn pivot, wrap a few turns of galvanized wire rope around the pin, then tighten with wire rope clips to take up play.
Electrical and Sensor Field Fixes
Materials: Heat-shrink butt connectors, dielectric grease, electrical tape, zip ties.
Corroded Connectors: Cut out corroded sections, splice with heat-shrink butt connectors, and seal with dielectric grease to repel moisture.
Broken Sensor Mounts: Use zip ties or hose clamps to secure loose sensors to nearby solid points, ensuring wiring remains clear of moving parts.
Lubrication and Seal Preservation
Even the best excavator parts fail if starved of grease:
Greasing Regimen: Carry extra tubes of multi-grade grease. Hit all zerks daily, especially after mud or rain.
Seal-Saver Boot: Fit rubber bellows or aftermarket gaiters over exposed seals to keep out dust and water.
Plan for Permanent Repairs
Field hacks buy time, not eternity. Track every temporary fix:
Tag It: Tie a brightly colored zip tie or flag on the repaired component.
Log It: Note the date, hours, and nature of the fix in your maintenance log.
Schedule Follow-Up: As soon as you reach base, replace the hose, order the OEM bushing, or press in a new pin.
Conclusion
When your excavator falters away from the shop, quick thinking and a well-stocked field kit turn potential disaster into manageable inconvenience. By mastering these simple repair hacks—clamping leaks, swapping teeth, pressing on master links, and shimming worn joints—you minimize downtime and keep projects on track. Please contact us if you have any inquiries or requests about construction equipment parts and agricutural machine parts.


